Hey, nerds, and welcome (back) to TFG! This post is a continuation of my first pattern-making adventure, so I suggest you read that one first.
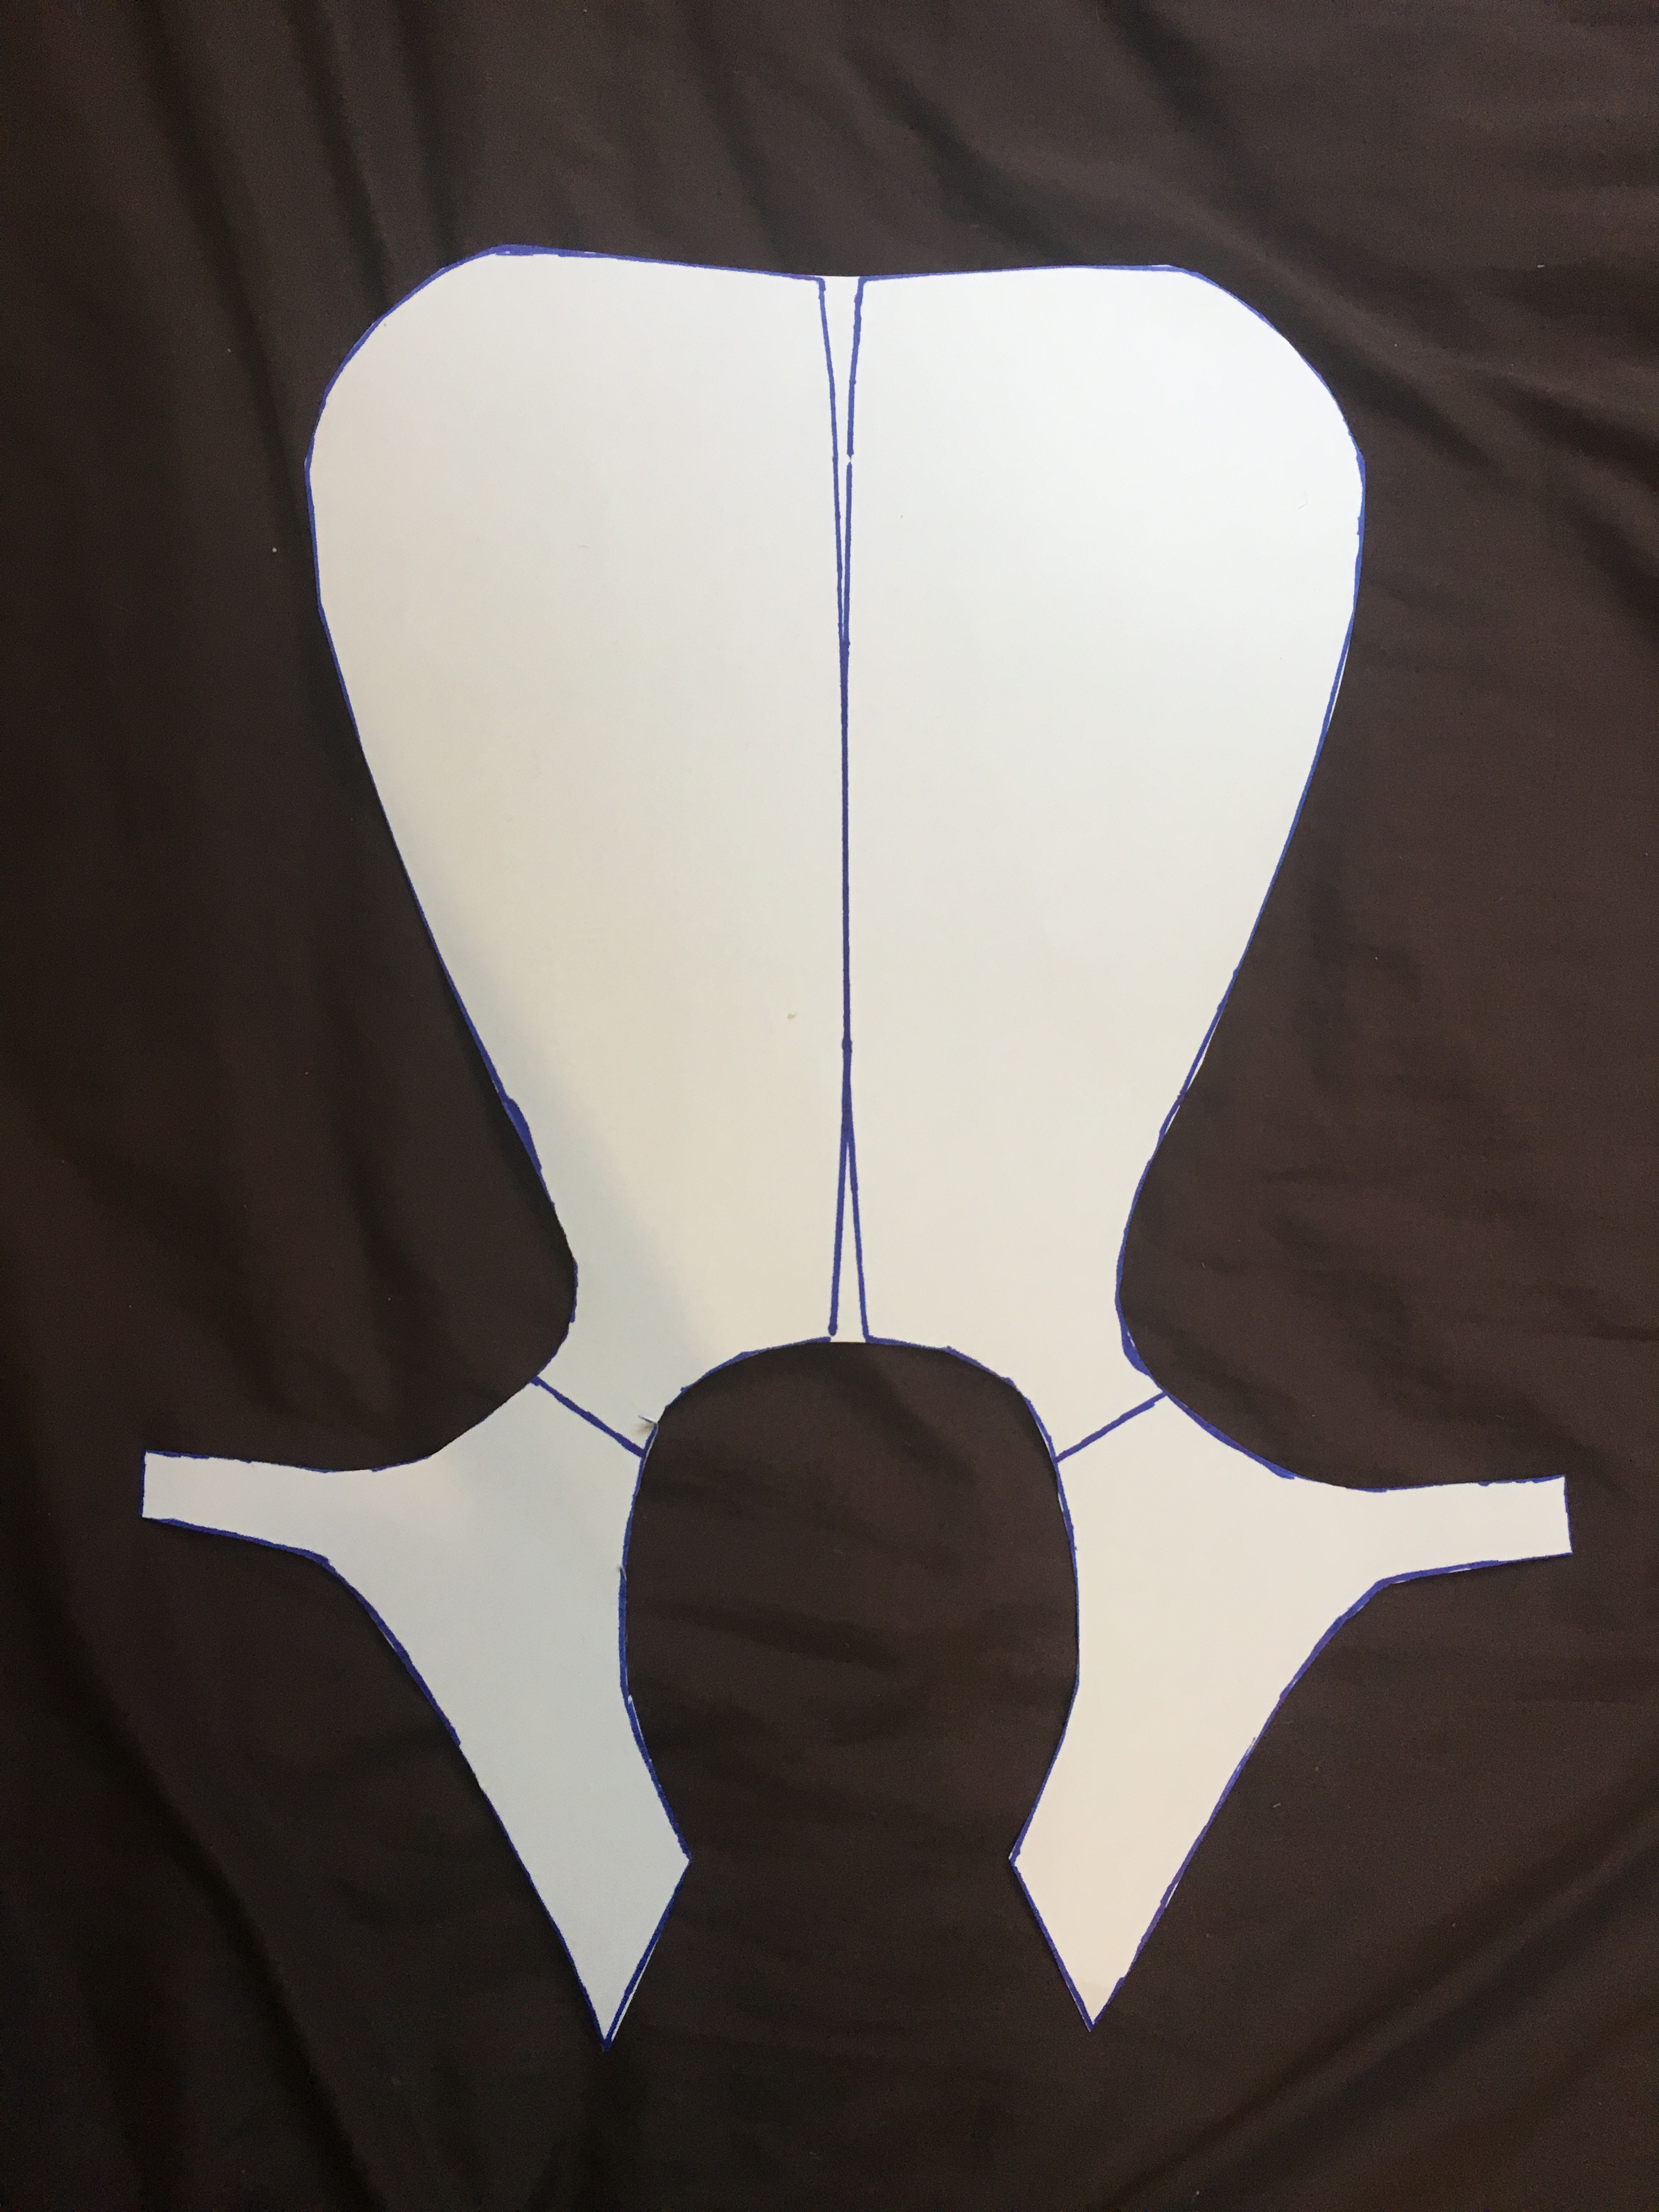
My last post concluded with the creation of my master pattern, which is basically a 2D-ization of all the pieces I’m going to need to construct the plastic parts of Chell’s long fall boots. The final boots will consist of four different pieces (two of which will be more or less fused together, so you can call it three pieces if you want), so my next step was to use my master pattern to construct the patterns I’ll need to make the smaller components of the boots.
First, I got ahold of the half-pattern that I used to make the two-sided pattern that I’ll be using in this post.

Here’s all the patterns I’ll be using, side by side.
The first thing I did was make a pattern for the piece that will be under the others on the front of the shoe. (Look at this reference pic; you’ll know what I mean.) Ignoring the back piece and the strap that goes across the front of the foot, I added half an inch to the edge of the piece, traced it, and cut it out. It’s always better for your patterns to be too big than too small; you can cut away extra material, but it’s really hard to add it back.

I traced half an inch around the front piece.

Then I cut it out.
I set that piece aside for a while and got to work on the outer pieces of the boot.
I took the master pattern that I made in my last post, cut off the parts that will be made using the pattern I made in the last paragraph, and separated the two pieces I’ll be using.
After cutting off the toe and ankle piece.

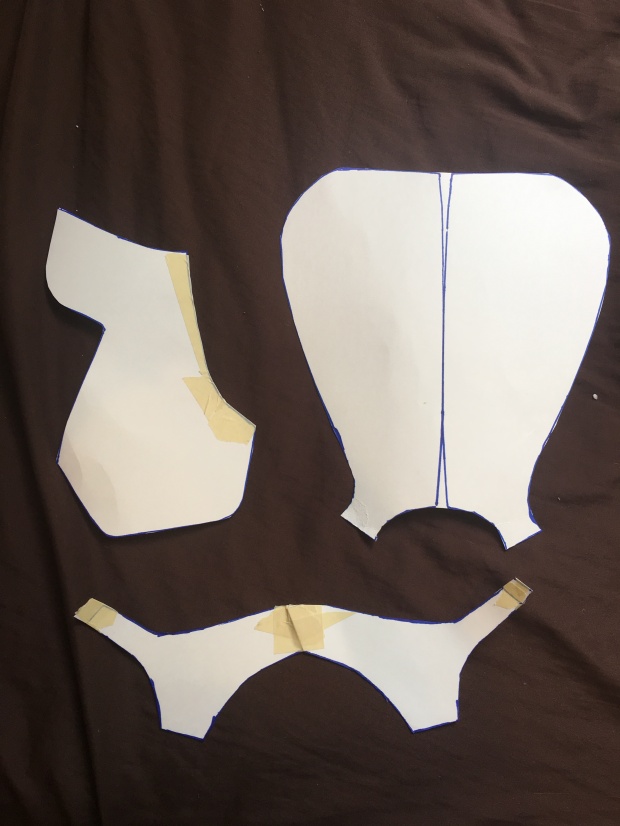
I split the piece along the lines.
Instead of keeping the ankle strap as two separate pieces, I taped the two patterns together, connecting the sides of the pattern that will be on the bottom of the shoe.

Masking tape is my friend.
This is the part where I miscalculated and ended up spending forty-five minutes fine-tuning a pattern that I didn’t even need. I won’t post any pictures of it, because it’s not worth your time to read, but here’s the moral of the story: when making two patterns that will connect to each other, check how they actually connect before you decide that one of them is too small.
So, anyway, my next REAL step was to connect the new taped-up lower pattern with the pattern for the calf plate. It made a nice curve around the heel, which means that it’ll look even better when it’s made of thermoplastic and not cheap posterboard. I put it on the boot to see if it would fit. With a few adjustments to the lower piece, it did.
I detached the two pieces from each other and got to work on the third piece.
I traced my cutout piece on my posterboard to make an identical cutout piece. I taped them together along the top of the foot to make a shape that was really awkward when made out of posterboard, but will look a lot better when it’s made of Worbla.

It lays really strangely, being posterboard and all, but it fits.
My next step was to make sure I’d made all the patterns correctly. Using masking tape (which is the only tape you should use for this step, since it’s easily cuttable/tearable/removable), I attached all the pieces to each other the way they will be on the final piece, and put it on. I didn’t get any pictures of this stage, since it was kind of hard to hold together properly (being paper and all), but the important part is that it worked.
Here’s a picture of all of my final patterns, side by side.
The one on the bottom looks like some kind of underwear, but it’s functional.
And there you have it!
Another thing I did was decide what materials I’m going to be using for each part. For the calf plate, I’ll be using this stuff called Sintra, which is basically foamed-up PVC, meaning that it’s tough, flexible, and holds its shape, but its density is low enough to be moldable when it’s heated up. For the other two pieces, I intended to use Worbla (which is magical stuff – if you’re into cosplay, you’ve probably already heard of it), but it ended up being way too thin to look okay with the relatively thick 3mm Sintra. So, instead of using Worbla alone, I decided to use craft foam and then cover it with Worbla afterward, to make it stiff, paintable, and more easily shaped.
It’s always a good idea to try before you buy, though, so using the little bit of each material I already have (and the craft foam I ordered off of Amazon today), I’ll experiment and make my final decision before I go to the trouble of purchasing the rest of the materials I’ll need.
Stay tuned for updates on this project!


